
A few weeks ago, I took this photo. I’m incredibly happy with how it turned out, and that’s no coincidence. It’s the result of many years of experience shooting landscapes, with many different processes coming together to create the final result. Here’s an overview of some of the choices I made in taking this photo.
The day:
As I walked across campus after dinner that night, I took a good look at the sky. It’s always fun to watch how clouds skitter around in the wind, and that evening was no exception. Light fluffy clouds played around in front of a few more substantial banks, with blue sky flashing through in the gaps. Sunlight flickered around, obscured one moment, then bathing the newly green grass in warm light the next. A light breeze blew from the west, creating a gap near the horizon.
These conditions are some of my favorites for landscape photography. The mix of clouds bring interest to the sky, but they don’t completely crowd out the sunlight which you see in my final image. The breeze keeps the conditions ever-changing, bringing more possibilities to my images. Even a difference of a few seconds between images can lead to drastic shifts.
The location:
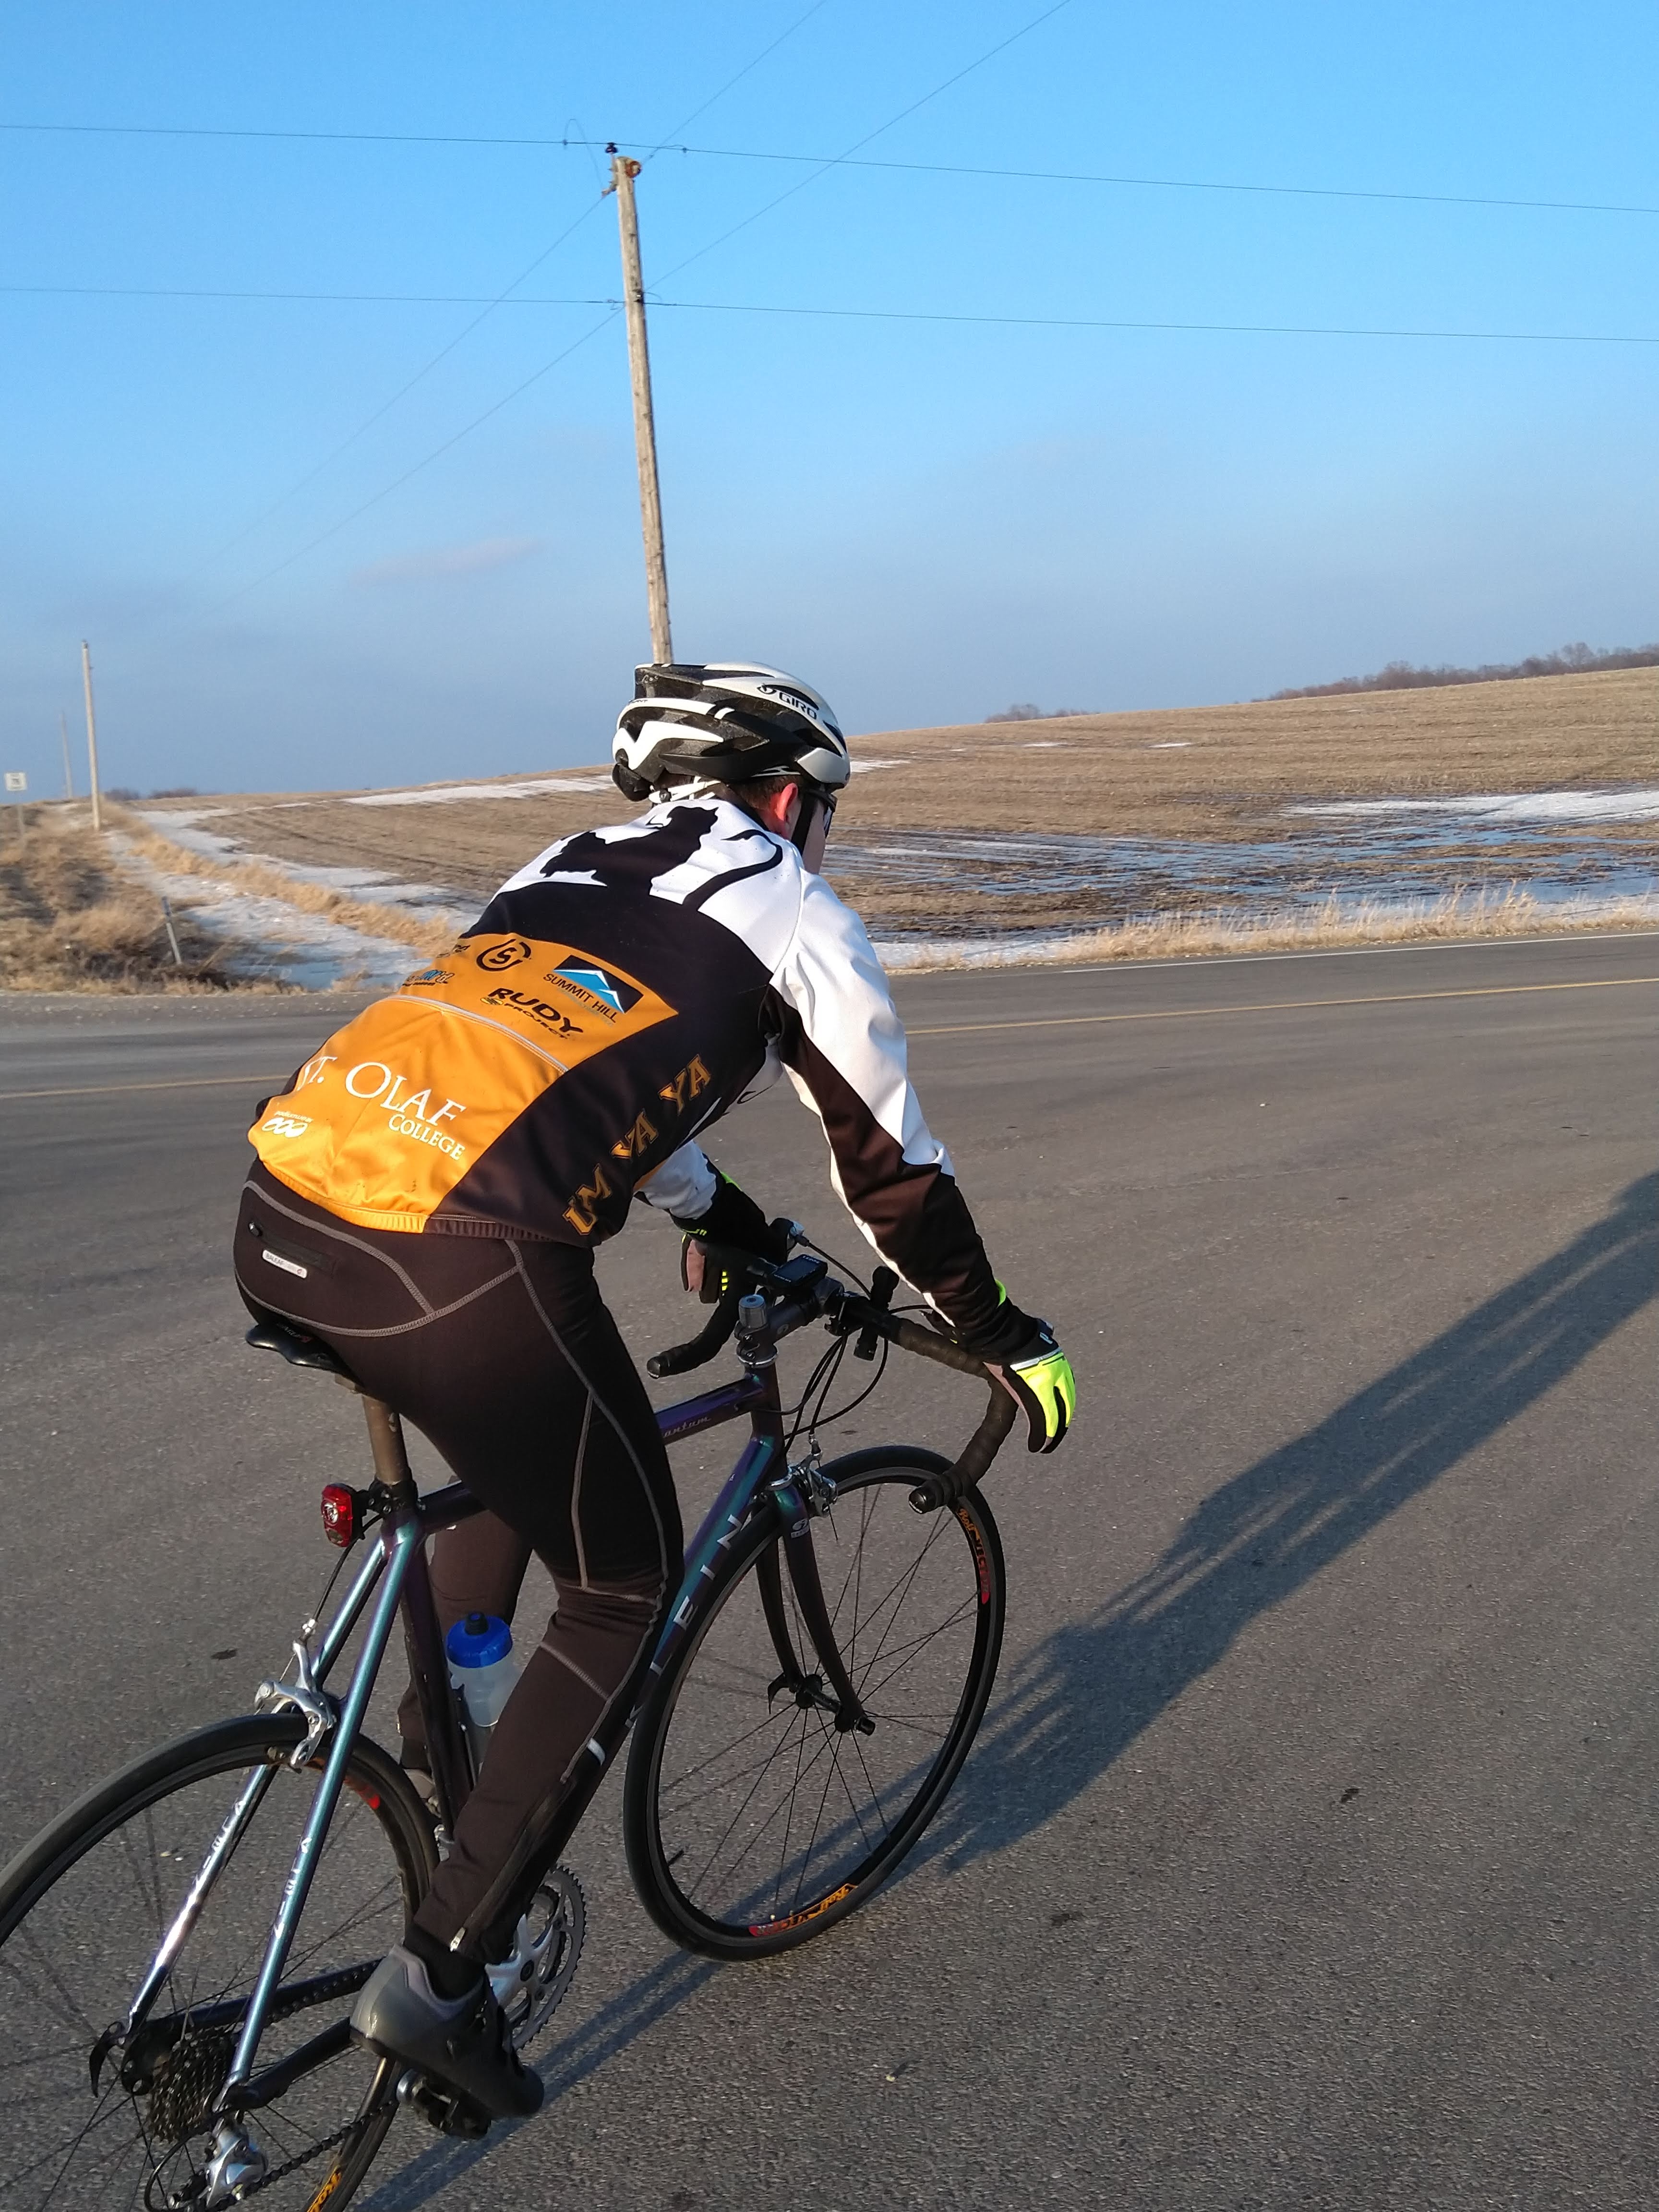
Knowing that I wanted to shoot, I then had to figure out where to go. My usual locations provided no inspiration that evening, so I needed to find somewhere new. I brainstormed west-facing areas, since they give the best angle on the setting sun. My other main hobby, cycling, provided a hint here. I had ridden past this location only a few weeks before, and took note of the meandering curves of the water, complemented by the skeletal trees dotting the banks. Unfortunately, I didn’t remember exactly where I was riding that day…
To solve that issue, I turned to one of my favorite planning tools: Google Maps. Scrolling around the general area, I found a few potential matches for the stream. All it took to confirm the proper location was a few quick hops into Street View. Instead of driving around aimlessly searching, these tools let me do much of my scouting ahead of time, from the comfort of my own desk.
The gear:
I set off for my shoot with my entire camera bag in tow. I like having a lens for every situation, especially when I have the luxury of driving it all around. It certainly paid off that evening, since I used lenses ranging from 10mm to 250mm. For this specific photo, I shot with my Canon 80d and 35mm f/2.0 IS USM, with an ICE 6-stop ND filter mounted. My Neewer carbon-fiber tripod held up the whole ensemble.
The composition:
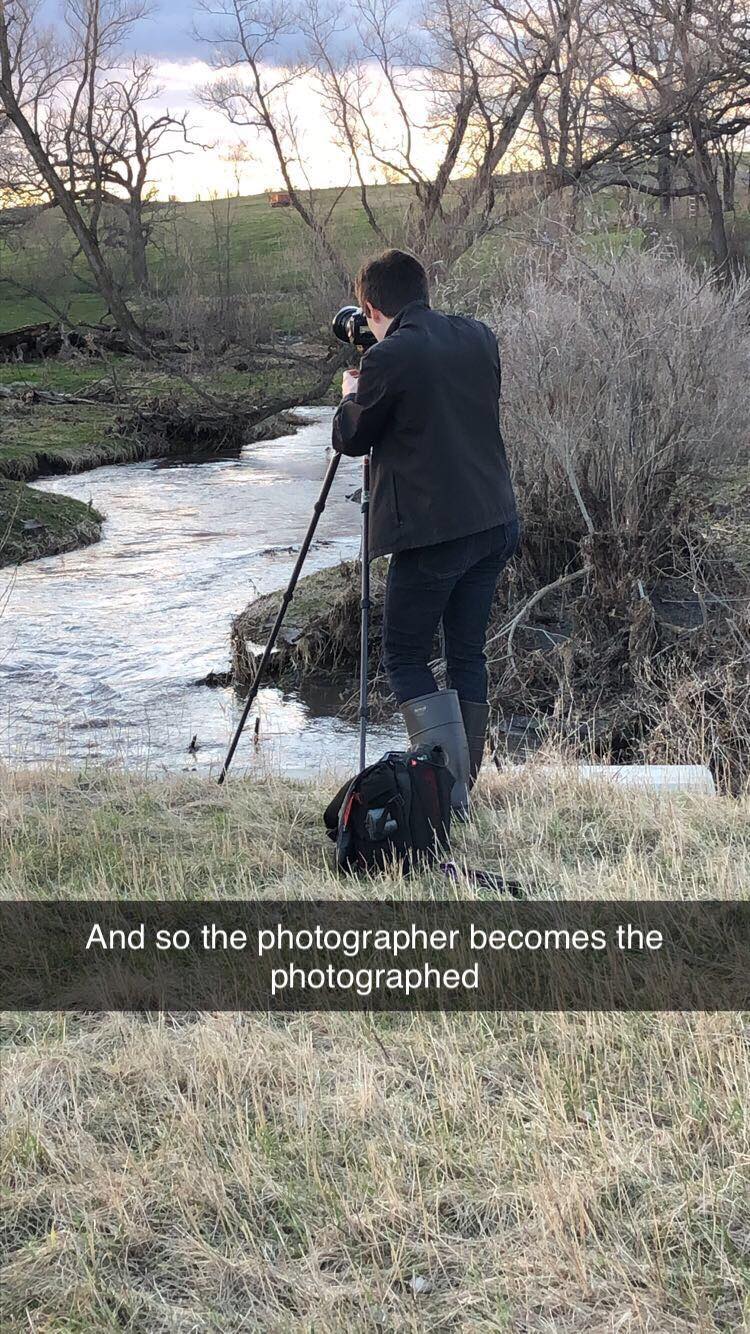
When I pulled up to the stream, I immediately knew that I wanted to showcase the curves of the stream. To show them best, I stayed on top of the culvert near the road, and raised my tripod to its maximum height. Then, I grabbed my 35mm. I knew that it would be tight enough to avoid distractions, but wide enough to still show the whole stream.
Once my gear was ready, I found my angle. I chose to have the stream come in from the left and exit at the right side of the bottom. I feel that it naturally moves the viewer’s eye through the entire frame, and doesn’t feel like anything is cut off. I also knew that I wanted to show the full height of the trees, as well as a bit of the cloud bank.
The Settings:
I chose an aperture of f/7.1. Looking at my camera’s screen, I could tell that this was stopped down enough to capture the entire scene in focus, but was also wide open enough to avoid the blurring effects of diffraction.
I almost always shoot landscapes at ISO 100, since it provides ideal dynamic range. That’s especially important in my sunset images, since the contrast between the brightly-lit clouds and the shadowed banks of the stream can be quite extreme.
Finally, I chose my shutter speed. I wanted to blur the water, but leave a little texture, so I knew that I wanted a shutter speed somewhere between 1/10th of a second and one second. After I put on the 6-stop ND, 0.3 seconds gave me the perfect exposure.
The editing:
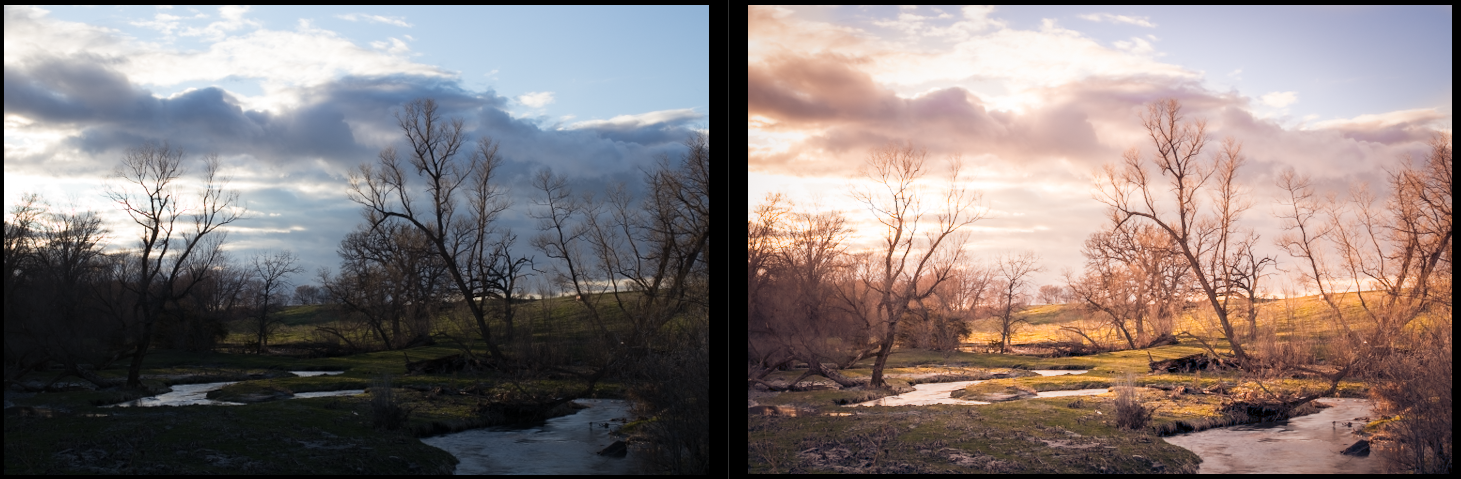
Back at my desk after an evening of shooting, I fired up Lightroom and imported my Raw files. Flipping through the previews, I found that I liked this composition and lighting best. Launching into editing, I started tweaking settings, dialing back the highlights and increasing the shadows, as well as warming the entire scene. I made far too many changes to mention here, but they all came together to give the photo the same feeling that I had when shooting. I like to think that I did a decent job recreating the warm glow of that spring evening.
The lessons:
It can seem a bit overwhelming to think about all of the pieces which come together to create a good photo. I certainly was a bit surprised by how many things I thought of when writing this post. However, this shouldn’t be discouraging to any new photographers. Many of these parts are almost second nature. I don’t have to deliberately agonize over every detail. Plenty of my favorite images were taken well before I knew about all of these techniques. It’s good to think about how your shooting process works, but it’s hardly as if everything has to come together at once. I’m learning new things all the time. Go grab a camera, and don’t worry about being perfect! Happy shooting!

[…] For a more in-depth explanation of how I took this photo, check out this blog post. […]
LikeLike